How to Grow Wheatgrass at Home : Complete Growing Guide
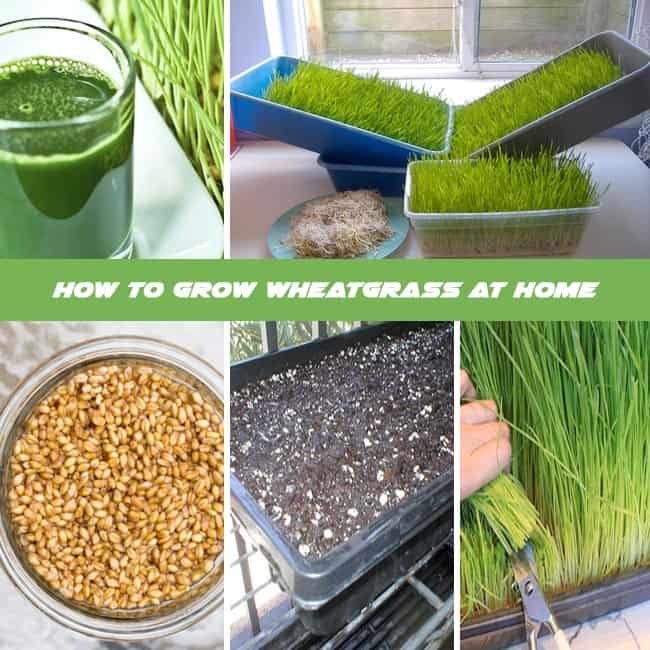
A lot of people are interested to learn how to grow wheatgrass because of the nutrients that it brings. Wheatgrass, as you know, is packed with essential vitamins and minerals that can help to keep your body and mind to stay healthy. In fact, drinking just one glass of wheatgrass juice everyday is enough to keep you healthy.
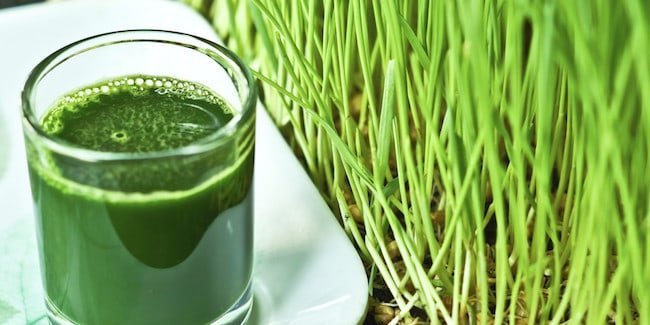
Image Credit: HuffPost
Unfortunately, a glass of wheatgrass juice everyday is a bit expensive. If you want to save money, then consider growing wheatgrass in your home. Follow the steps below on how to grow wheatgrass at home.
Purchase Your Wheatgrass Seeds
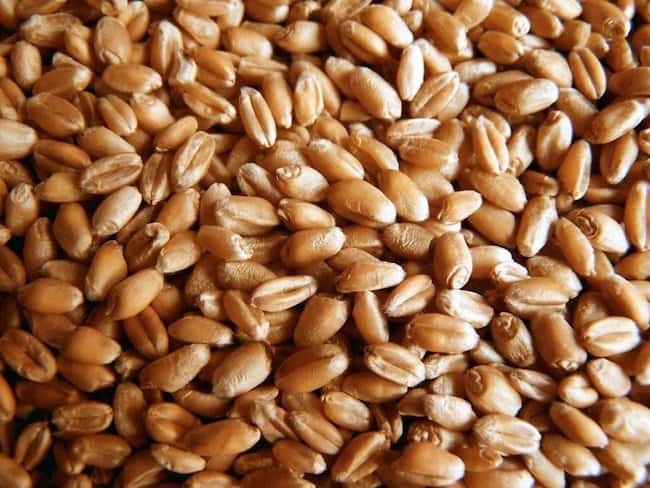
Image Credit: Huffpost
The wheatgrass seeds are sometimes called wheat berries. To begin with, purchase a bag of wheatgrass seeds at your local garden supply store. Otherwise, you can go online and look for organic stores selling the seeds. Choose to buy the seeds from a reputable store to ensure that they are organic. This means that the seeds have not been treated with pesticides and will grow to a healthy and vibrant grass.
Also Read: How to Grow Cardamom from Seeds
Prepare the Seeds For Soaking
Measure and rinse the seeds before you soak them for germination. Measure enough seeds to produce light layer over the seed tray that you’ll be using in growing the wheatgrass. Plant about 2 cups of seeds if you’re using a 16 by 16 inch tray. Next, rinse the seeds in a bowl of cool and clean water with the use of a colander that has tiny holes. Finally, drain the seeds well and place them in a bowl.
Soak the Seeds
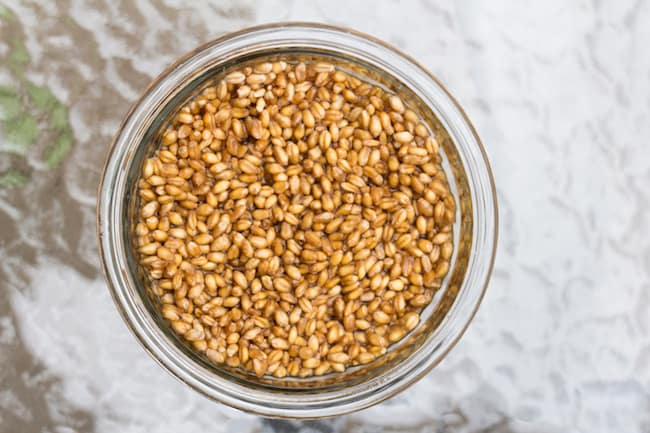
Image Credit: Perks of Being a Housewife
Soak the seeds in order to encourage germination. Eventually, you will notice the seeds will sprout some small roots. To do this, pour several cups of water in a bowl. Cover the bowl with a plastic wrap or lid and then place it at the counter. Leave for about ten hours or let it stay there overnight.
Drain the water off the bowl then replace with cold and filtered water. Leave the seeds to soak for another ten hours. Repeat the same process over again so as to reach three soaks. At the end, the seeds will be sprouting some roots. At this point, they are now ready to be planted.
Drain the water off. Set the seeds aside until you are ready to plant them.
Prepare the Seed Tray for Planting
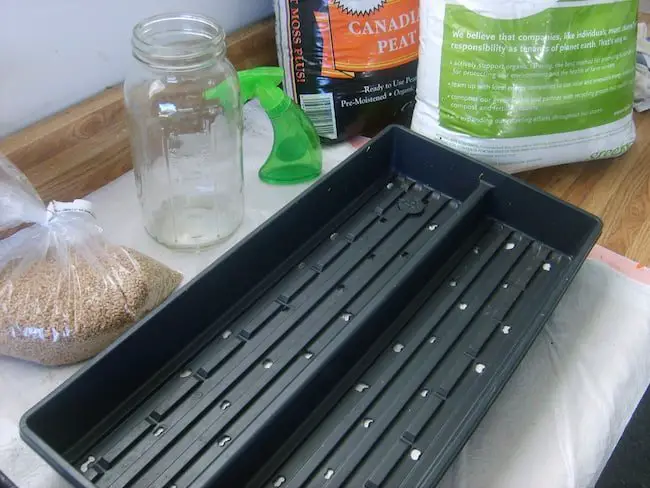
Image Credit: Flickr
A seed tray will be used in these steps of how to grow wheatgrass at home. To start with, line the tray with paper towels in order to prevent the roots from growing into the holes of the tray. Afterwards, spread about an inch layer of potting soil in the tray.
Use paper towels that were not treated with dyes or chemicals. Purchase these types of paper towels at your local organic stores. Moreover, use pre-moistened potting soil that’s free from pesticides and other harmful chemicals.
Also Read: Aspirin uses in the Garden for Healthy Plants
Start Planting the Seeds
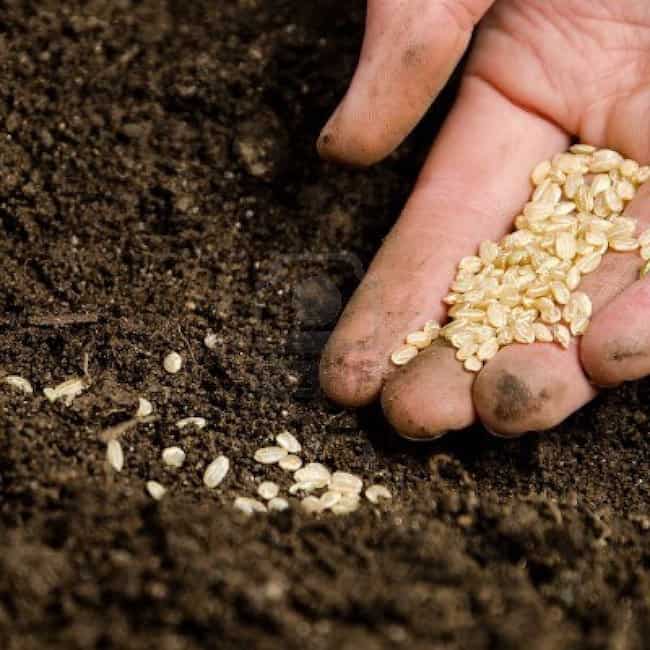
Image Credit: theagrowlife
Spread the seeds evenly right above the potting soil. Press the seeds to the soil gently. Avoid burying them completely or they will not grow into a wheatgrass. Do not worry about the seeds touching each other. However, make sure that there are not too many seeds piled in one area only. Each and every wheatgrass seed needs enough room in order to grow.
When learning how to grow wheatgrass, you should also learn how to care for it. Water the seed tray every single day. Make sure to water the young shoots at least twice a day. Each of the seed should receive some sprinkle of water. Cover the tray with moistened newspaper pages in order to keep them protected.
Keep the Seeds Moist At All Times
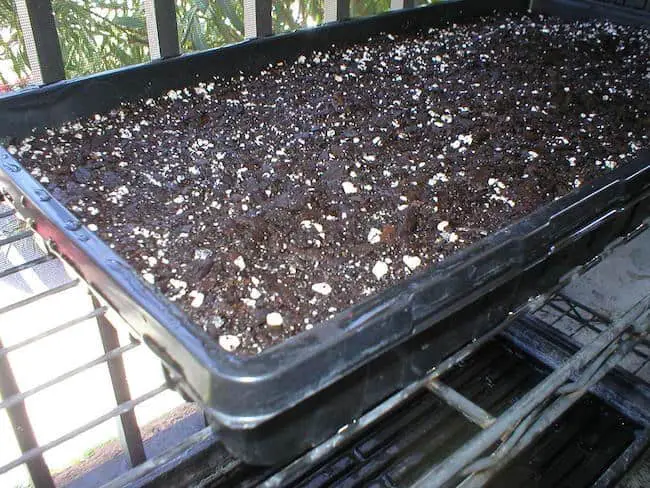
Image Credit: HealthyMartin
Ensure that the seeds will not dry out in the first few days of planting them. Keep the seeds damp so they will root themselves at the seed tray. Lift the newspaper off the tray every morning. This way, the soil will remain wet but not waterlogged.
Use spray bottle that’s filled with enough water to lightly mist the soil at the evening. This is done in order to prevent the seedlings from drying out overnight. Spray water into the newspaper as well so as to keep it wet also. At the fourth day, take the newspaper off in order to keep the seeds from sprouting underneath it. Water the sprouted grass continuously for at least once each day.
When the shoots have grown to about an inch, reduce the watering. However, always ensure that the water is only enough to keep the soil damp at the roots. Overwatering must be avoided at all cost.
Keep the Grass Under Partial Sunlight
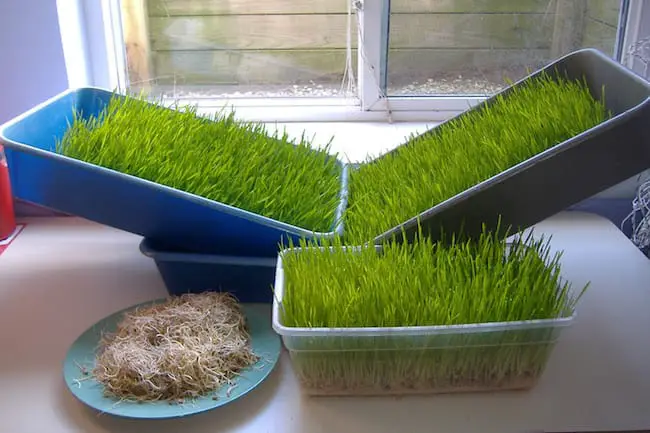
Image Credit: Blogspot
Place the wheatgrass in a shady area of your home since direct sunlight will damage the grass. You can place the tray near the window and make sure there is proper ventilation.
For those who live in places with humid and warm climates, molds might grow on your wheatgrass tray. This is usually common, however, it is totally harmless. During harvesting, simply cut the affected area to avoid harvesting the mold. Use blowing fan during humid days in order to prevent the growth of mold.
Harvest the Wheatgrass
Wait for the wheatgrass to split before you harvest. When the shoots are mature, another blade of grasses will start growing off the first shoot. This is referred to as splitting and this means that the wheatgrass is already ready to be harvested. At this point, the grass is already about six inches tall. The grass will be ready to harvest after 9 to 10 days of growing wheatgrass in the seed tray.
Cut the Grass Above the Root
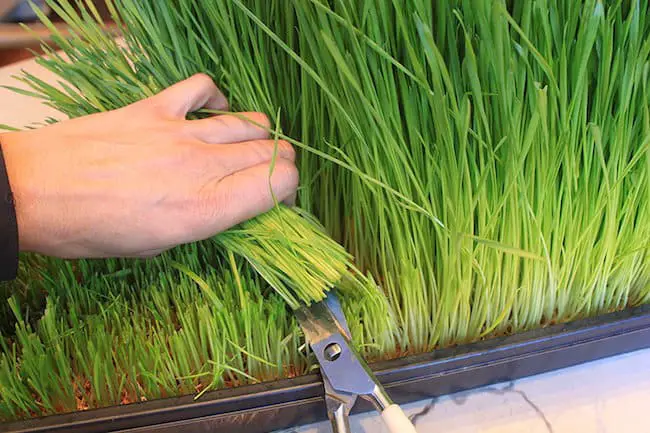
Image Credit: Amazon
Use a pair of scissors to harvest the wheatgrass. Clip the scissors right above the root and collect the grasses in a bowl. Keep the harvested grasses in the refrigerator for about one week. Juice the wheatgrass immediately after you harvest them if you want to make the most of its health benefits.
Water the wheatgrass regularly in order to produce another batch of crop. Harvest the crop as soon as it has already matured. A third crop may also come up. However, this may not be as sweet and tender as the first crop. Empty the tray and then prepare it for the next batch of wheatgrass seedlings.
Also Read: How to Water Indoor Plants
Juice the Wheatgrass

Image Credit: magnamags
Rinse the wheatgrass before juicing. Give a light rinse to wash all the debris and dust away. Next, place the wheatgrass in your juicer. Use juicers that are deigned to produce the most juice from this fibrous plant. Avoid using the regular type of juicers as the grasses could clog in them.
Use blender if you don’t own a juicer. Grab a strainer once the wheatgrass is already fully blended. Take off the solid particles with the use of the strainer. You can now enjoy a glass of healthy wheatgrass juice.
Take note that if you’re not yet familiar with drinking juices, avoid taking more than an ounce each day. Wheatgrass is a very powerful cleanser that might lead to some side effects.
Final Thoughts
As you see, the steps on how to grow wheatgrass are pretty easy. After only a few days, you will already have them ready for juicing and enjoy its powerful mix of nutrients.


